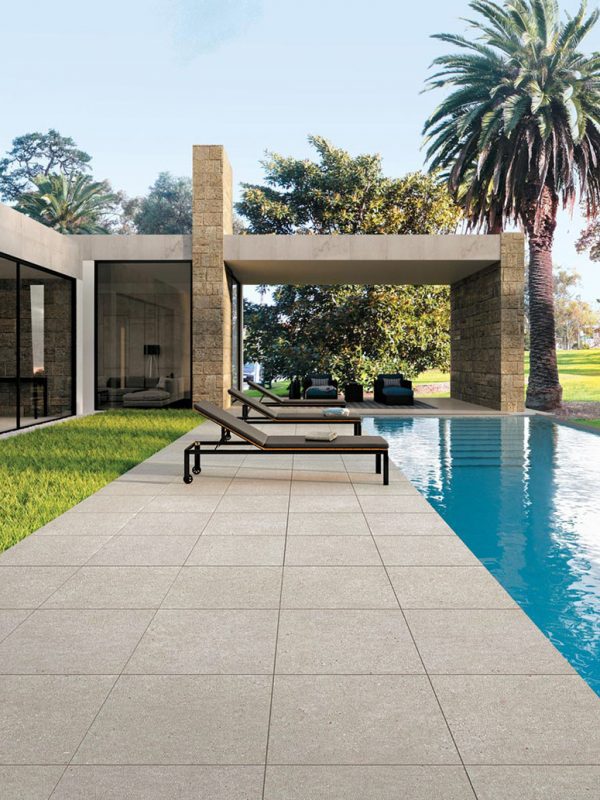
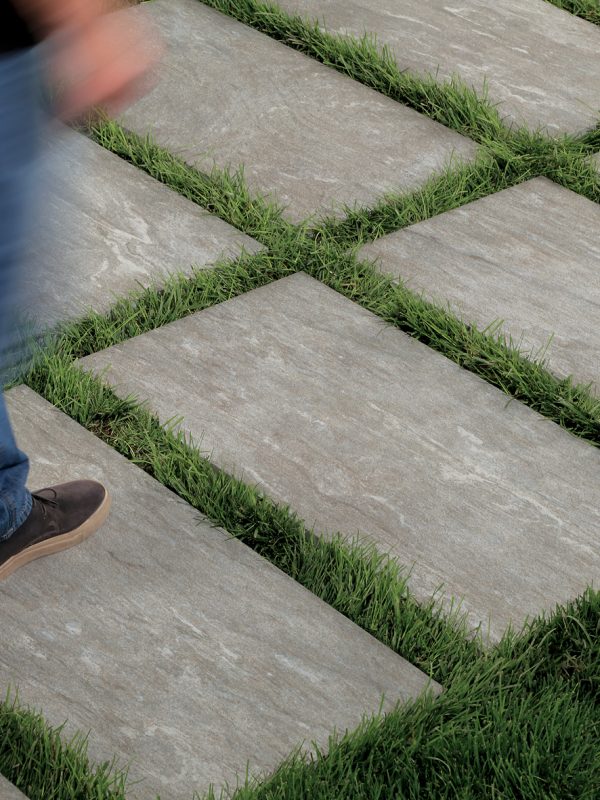
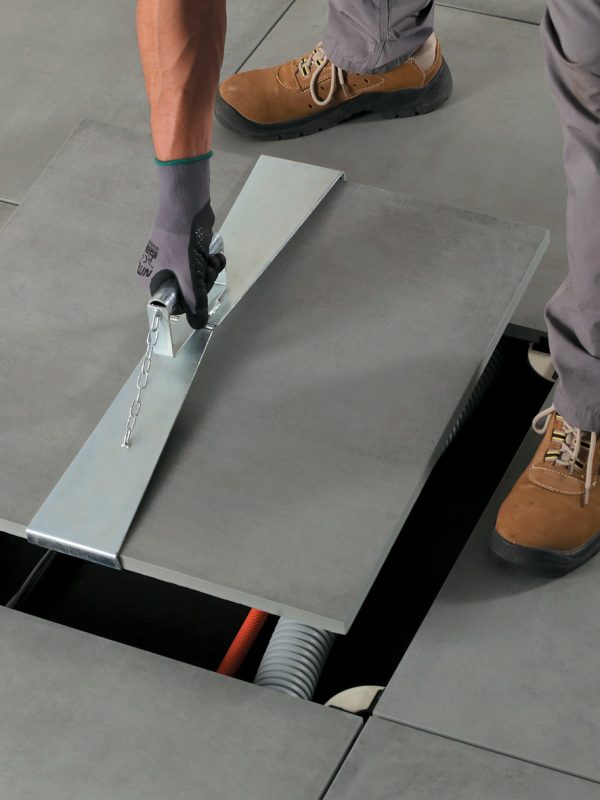
Lay the tiles on gravel to obtain an even surface with minimal joints of 5mm even on large areas.
Novoceram Outdoor Plus
Laying on gravel
Video
Step by step
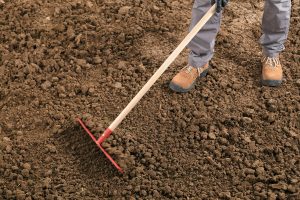
Level
Level the substrate with a rake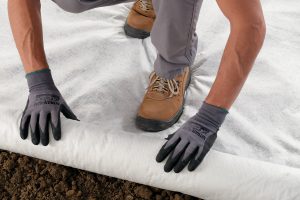
Layer of non-woven
Place a layer of non-woven fabric on the substrate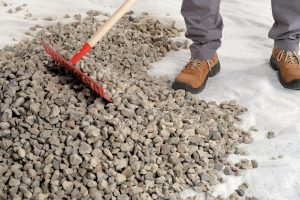
Gravel
Spread an even layer of at least 5-10 cm of gravel (16-35 mm). For even better adherence of the slab, you can add a layer of lime to the gravel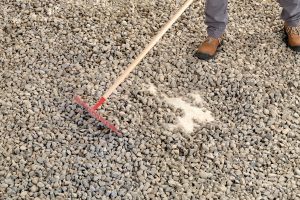
Level
Level the substrate with a rake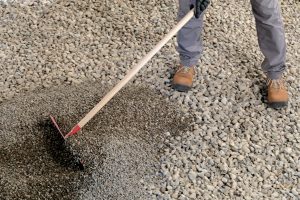
Fine gravel
Spread a layer of at least 5.10 cm of fine gravel (4-6 mm)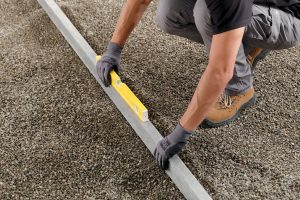
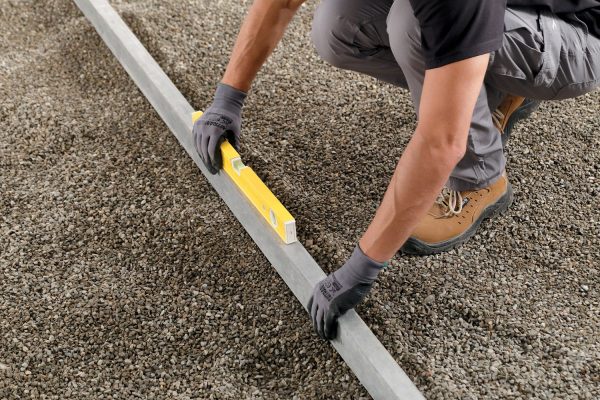
Level
Level the surface using a spirit level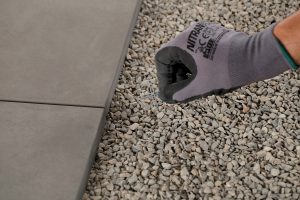
Lay the slabs
Lay the slabs with spacer crosses of at least 5 mm to allow excellent drainage of rainwater. During laying continually check the planarity of the surface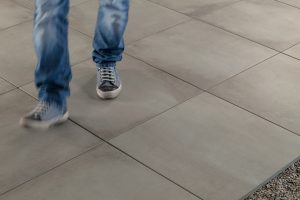
Can be walked on immediately
Novoceram Outdoor Plus slabs installed onto gravel can be walked on immediately after laying
Warning
The recommendations for installation are provided as examples of the type of chosen application: Novoceram recommends to refer to the applicable regulations in your country to carry out a state-of-the-art installation
