The terrace is much more than an extension of the home – it’s a space of freedom and well-being. As an important part of this lifestyle, tiling is an outdoor floor covering that has a number of aesthetic and practical advantages, not least the 80×80 format. Novoceram offers porcelain stoneware tiles that meet all requirements in terms of size and reliability.
80×80 terrace tiles
Our Balcony and Terrace and 80x80 cm tiles collections
-
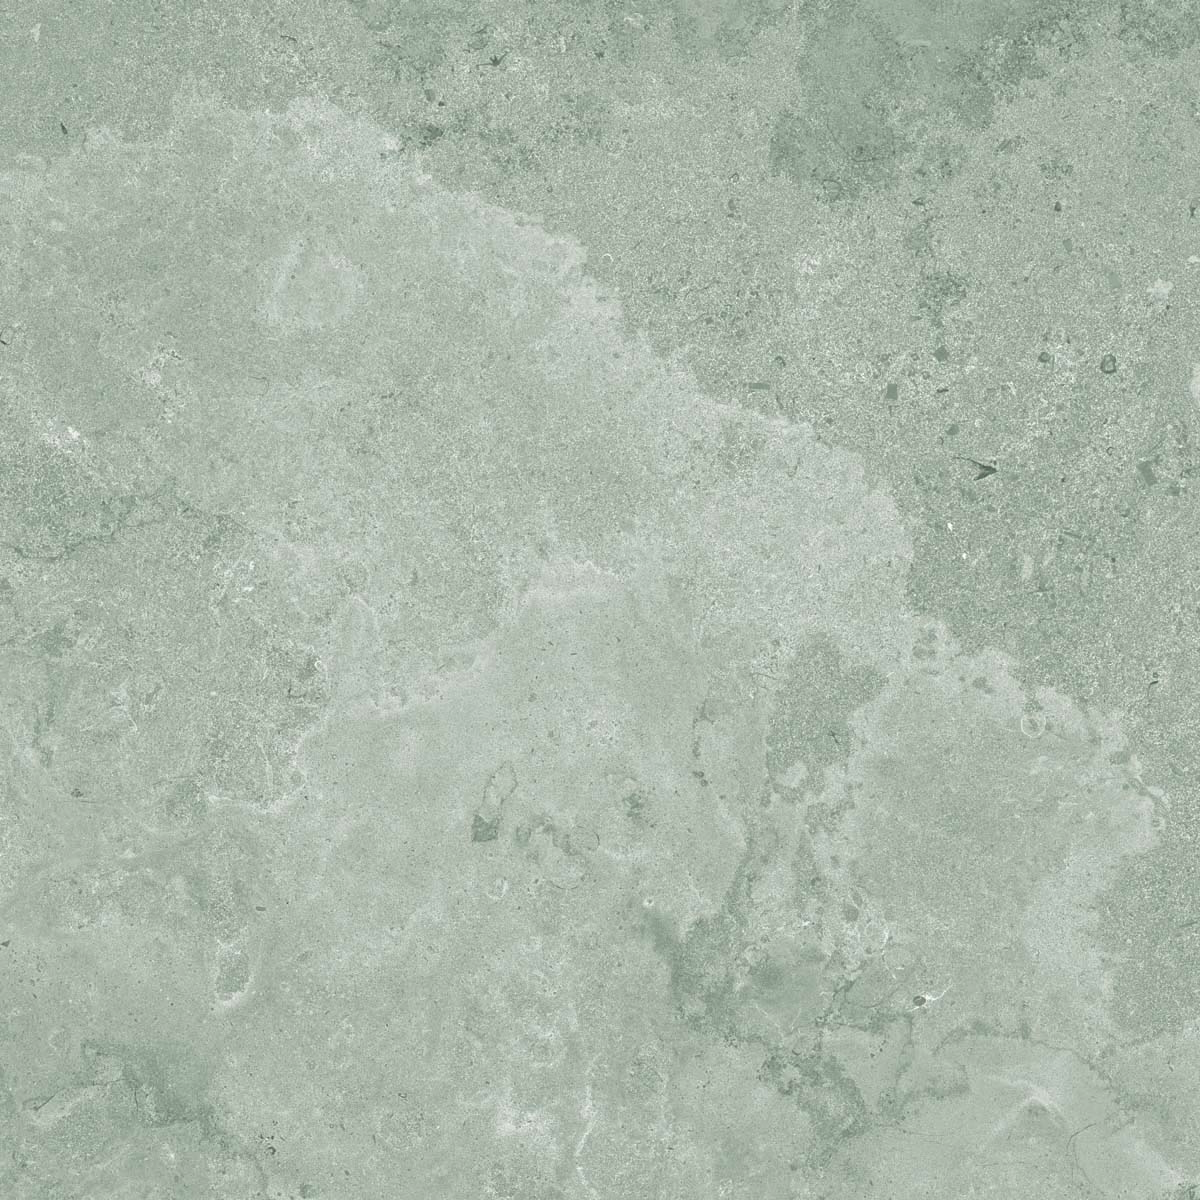 Kairn
KairnGris structured anti-slip
Outdoor Plus 20mm60x12080x8060x6030x60 -
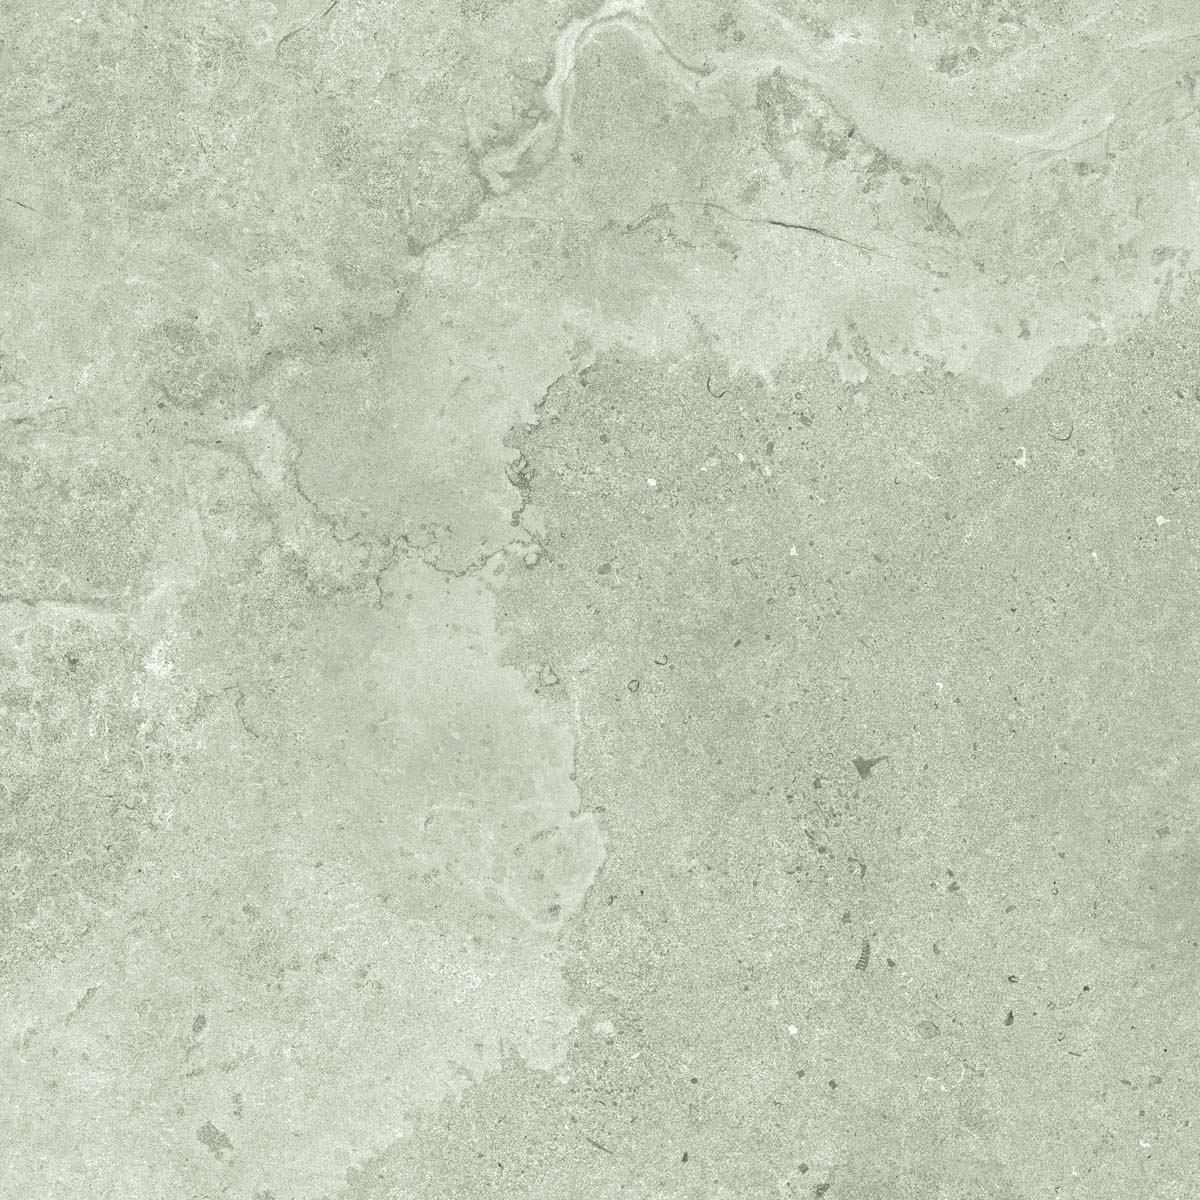 Kairn
KairnNaturel structured anti-slip
Outdoor Plus 20mm60x12080x8060x6030x60 -
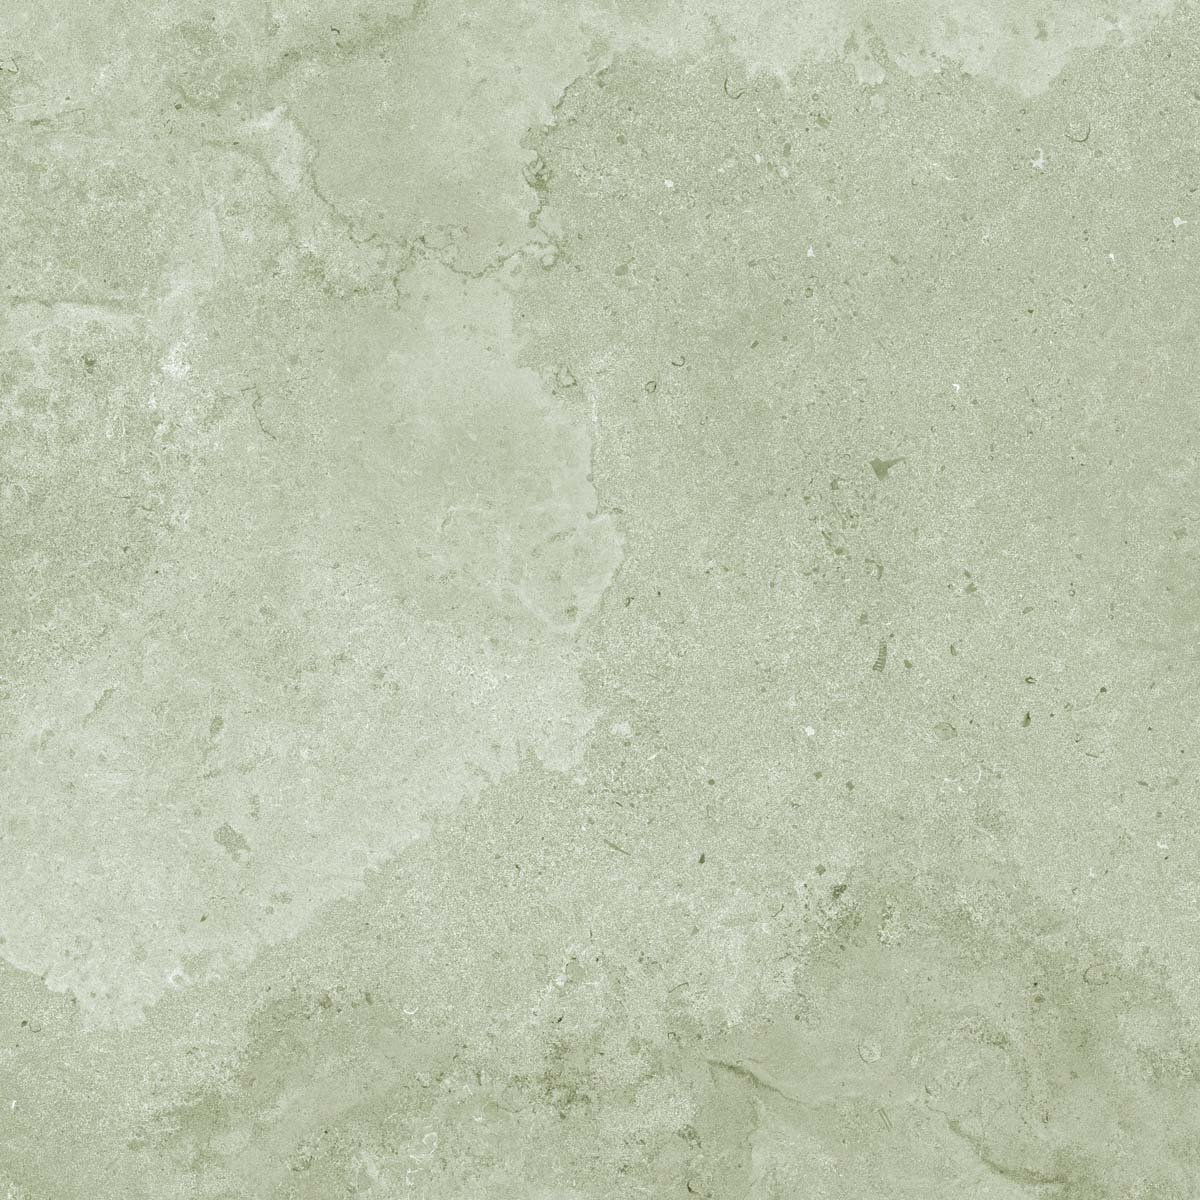 Kairn
KairnSable structured anti-slip
Outdoor Plus 20mm60x12080x8060x6030x60 -
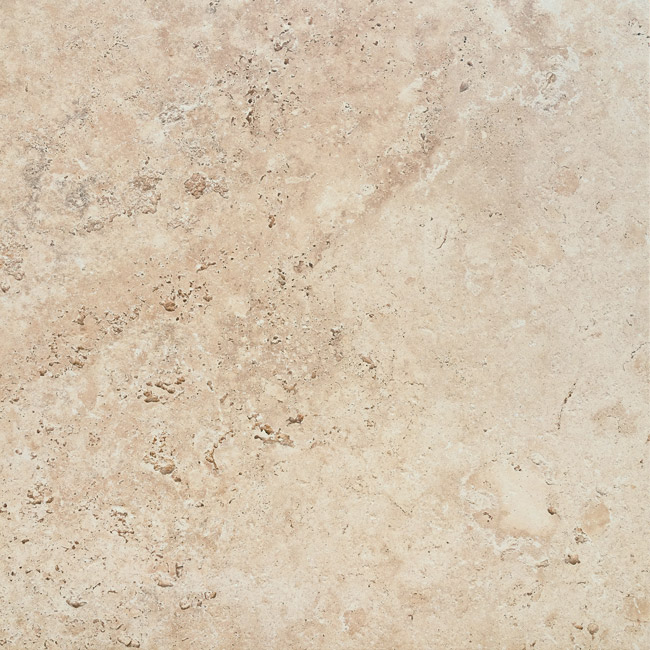 Tiber
TiberLight structured anti-slip
Outdoor Plus 20mm60x9080x8060x6030x60 -
 Utopie
Clair structured anti-slip
Outdoor Plus 20mm80x80 -
 Utopie
Perle structured anti-slip
Outdoor Plus 20mm80x80 -
 Utopie
Gris structured anti-slip
Outdoor Plus 20mm80x80 -
 Utopie
Plomb structured anti-slip
Outdoor Plus 20mm80x80 -
 Utopie
Taupe structured anti-slip
Outdoor Plus 20mm80x80 -
 Tiber
TiberNatural structured anti-slip
Outdoor Plus 20mm60x9080x8060x6030x60 -
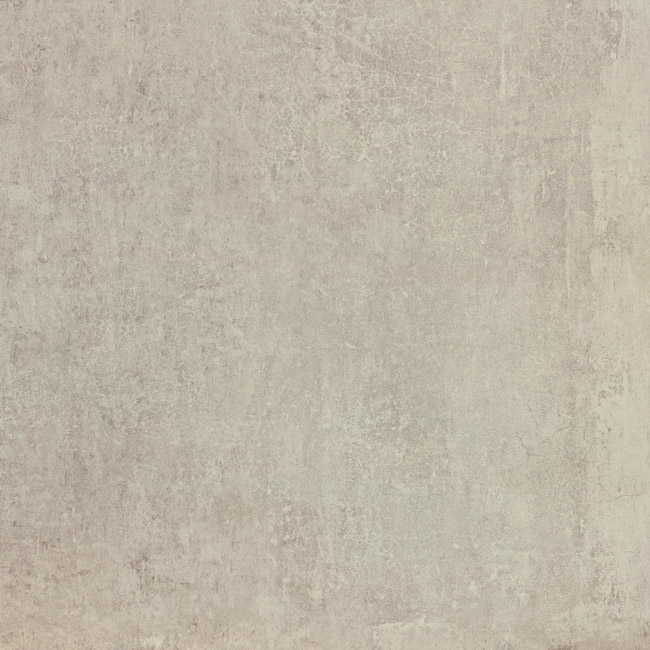 Teranga
Ivoire structured anti-slip
Outdoor Plus 20mm80x80 -
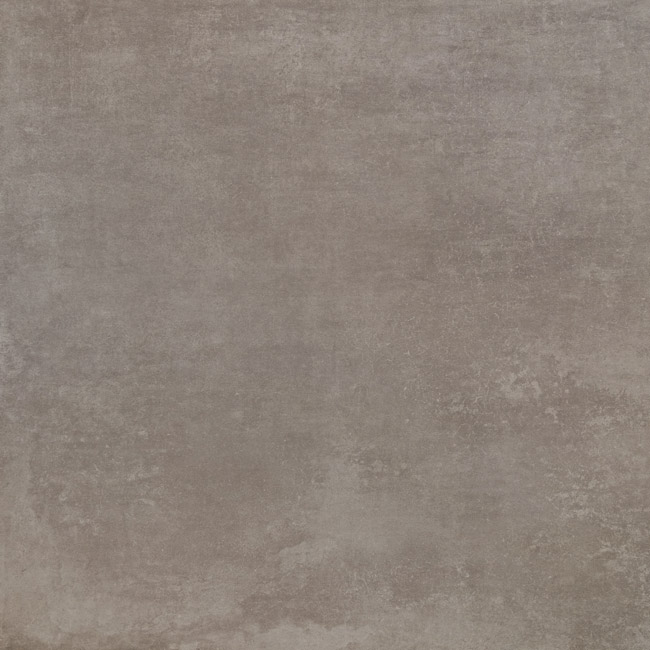 Teranga
Greige structured anti-slip
Outdoor Plus 20mm80x80 -
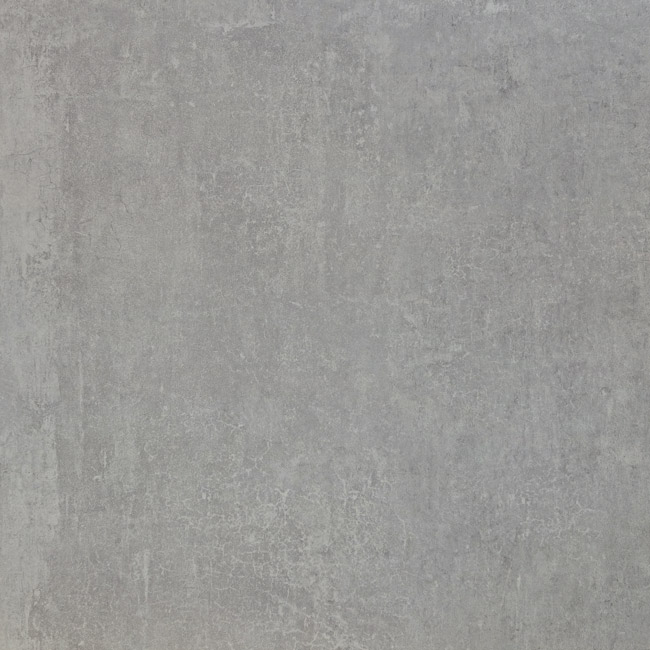 Teranga
Perle structured anti-slip
Outdoor Plus 20mm80x80 -
 Château
Ivoire anti-slip
Outdoor Plus 20mm60x9080x80 -
 Château
Sable anti-slip
Outdoor Plus 20mm60x9080x80 -
 Château
Gris anti-slip
Outdoor Plus 20mm60x9080x80 -
 Château
Moka anti-slip
Outdoor Plus 20mm60x9080x80 -
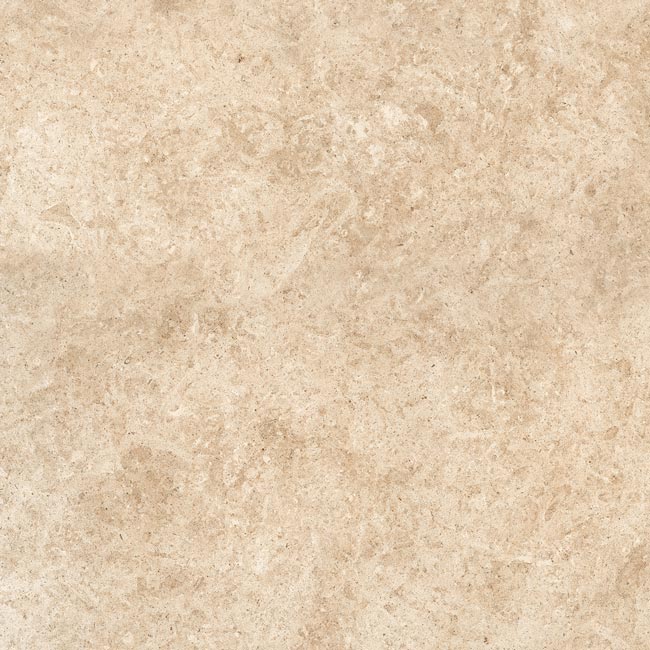 Racines
Clair structured anti-slip
Outdoor Plus 20mm60x9080x8060x60 -
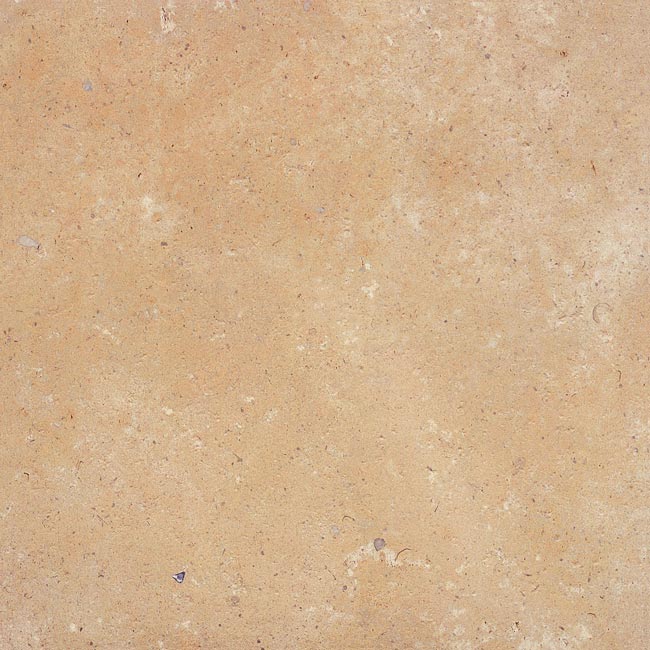 Racines
Doré structured anti-slip
Outdoor Plus 20mm60x9080x8060x60 -
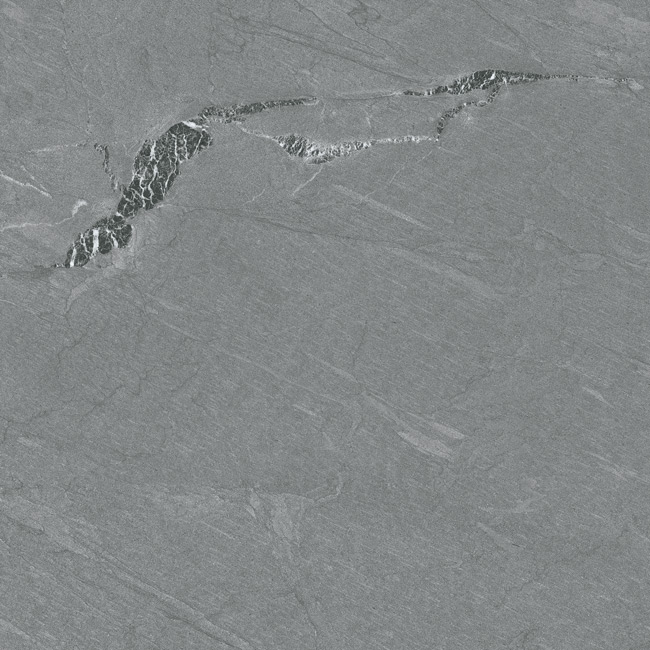 Way
WayFer structured anti-slip
Outdoor Plus 20mm60x12080x8060x60 -
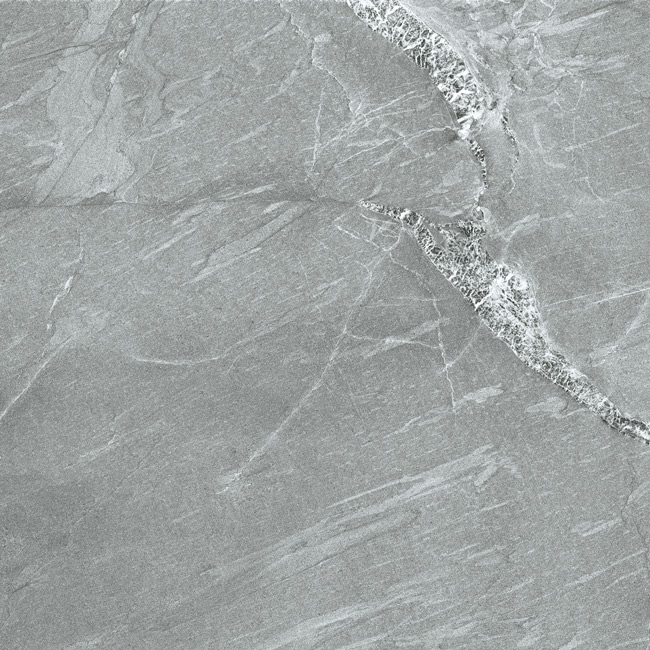 Way
WayQuartz structured anti-slip
Outdoor Plus 20mm60x12080x8060x60
Why choose 80x80 tiles?
80×80 tiles involve fewer tiles and can reduce the number of joints. The latter tend to blacken the covering and require complex cleaning. This finish makes it possible to create very fine gaps of around 2 mm. It should be noted that this format is often offered in a rectified version, which means that the edges promote dimensional uniformity.
Another advantage of terrace and balcony tiles is that they are not limited to large surfaces. Small rooms are also recommended for this type of covering. It can be installed to create symmetrical spaces and decorative elements, such as floor tiles.
What are the advantages of choosing 80x80 tiles?
80×80 tiles for terraces and balconies offer a complete solution for outdoor surfaces. As well as withstanding the elements, this material is resistant to frost, rain, UV rays and intense heat. Maintenance of these tiles is simple, requiring regular cleaning to preserve their appearance and aesthetics. Their robustness makes them a durable option, capable of withstanding heavy loads such as the weight of garden furniture, leisure equipment and bulky plant pots.
Its resistance to scratches and stains makes this balcony tile ideal for garden furniture and outdoor activities. Some tiles are designed for use with underfloor heating systems to bring extra warmth to the terrace. The advantages of these tiles also lie in their hygienic aspect, while ensuring a clean space.
80x80 tiles: what are the most popular colours?
The most popular colours for 80×80 tiles are classic.
- Black tiles: whether imitation slate or veined marble, a black floor adds a special atmosphere to the room. Choosing this shade is an ideal option if you want to build a sophisticated, timeless style. What’s more, it provides a high-quality contrast with lighter-coloured furnishings.
- Beige tiles: this is a more traditional option, but just as elegant. Its beige hue helps to brighten up your space. As well as being classic, this colour makes it easy to coordinate with a number of decorative elements. So you have plenty of freedom when it comes to choosing your interior design.
- Grey tiles: they come in all shades, from the darkest to the lightest. This shade is synonymous with modernity, and blends in perfectly with both contemporary and country chic décor.
What are the essential steps for installing floor tiles?
Once you’ve made your choice of tiles, your tiler will need to follow a few steps to install your material.
Preparing for installation
The role of the layout is to define the quantity of tiles needed to create the tiled terrace. It’s a sketch with several tiles that helps to minimise cutting, while still achieving the desired visual appearance. Once the covering has been laid, the plan is reproduced using markers to make it easier to lay the tiles. Before installing the materials, the professional checks that all the batches come from the same bath to avoid any differences between the tiles.
Laying tiles
To lay glued tiles, the tiler must have a mortar adhesive to continue the construction. It is important to note that the tiles are glued as they are laid, and must be spaced by spacers to ensure that all the joints are of uniform width. The professional ensures that the subfloor is in good working order, since it allows rainwater to drain off as efficiently as possible. The surface is then levelled to ensure that it is even.
Finishing touches
For effective construction, the tiler must lay finishing borders at the end of your terrace to allow the tiles to extend underneath. Next, he applies an exterior mortar with a toothed squeegee. Once the grout has dried (24 to 48 hours), the excess material needs to be cleaned up, following the direction of the joints.
There is a wide range of mortar colours to suit your preferences. The colour of the joints has a real impact on the aesthetic appearance of the tiled terrace. Don’t hesitate to analyse this essential factor with your craftsman when laying your tiles.
Frequently asked questions about tiling for terraces and balconies
There are a number of questions to consider if you want to lay your patio and balcony tiles successfully.
What type of tiling should I choose for an outdoor terrace?
There are several types of tiles available from Novoceram in a variety of colours. Choose porcelain stoneware tiles, as they are weather-resistant and adapt to outdoor conditions. The surfaces are easy to maintain, as they do not retain dirt and can be cleaned with warm water and a damp cloth.
Porcelain stoneware tiles are free from volatile organic compounds, which are highly toxic to humans and nature. They also contain no formaldehyde, which is one of the most common pollutants found in the home. What’s more, this type of tile contains no PVC (polyvinyl chloride), plastic or petroleum-based products. These tiles are impervious to bacteria, dust mites, fungi and mould. It is the ideal solution for designing spaces that require high levels of hygiene.
Do tiles require a minimum slope for water drainage?
To ensure optimum drainage of moisture, a minimum slope is recommended when laying tiles. It’s important to remember that stagnant water on a terrace represents a real danger to the infrastructure, whatever the design material chosen. In addition to the risk of falling, this accumulation of liquid can cause deformation of the equipment, leading to subsidence.
What is the thickness of tiles for terraces and balconies?
Generally speaking, porcelain stoneware tiles are 2 cm thick. Easy to install, these tiles require no grouting or glue, and can be laid on several surfaces (cement, lawn or gravel). This method of laying provides a space under the terrace for the passage of various cables and pipes.
